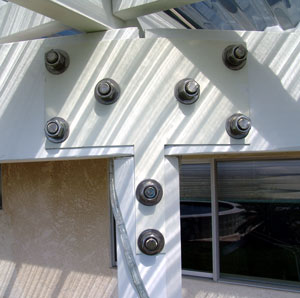
After the rot damage was repaired (the previously mentioned Clear Penetrating Epoxy Sealer helped with that) a ledger board was fastened onto the house using stainless steel lag bolts and stainless steel washers.
I’ll stop here and discuss the use of stainless steel hardware that I’ve mentioned several times. The deal is, I want this patio cover to outlast me. When I’m 80 I’m going to be in no shape, or mood, to replace it. Thus I used the best hardware, paints, etc., that I could find. The higher up-front costs should be well worth it down the road.
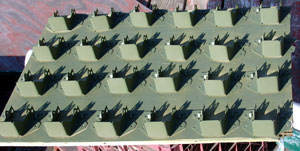
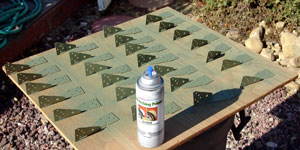
Now for the rafter hangers - stainless steel, of course. Not easy to find! Simpson doesn’t make 2X4 stainless rafter hangers. I found them at an online specialty hardware outfit Contractors Depot.. Expensive? $8 each, yikes! But, I won’t ever be touching up rust spots on these. Instead of crude toe-nailing, the other end of the rafters attach to the beams with stainless steel hurricane clips, one on each side of each rafter. $7 each from the same outfit. These, and other hardware items, are primed with aerosol Dupli-Color Self-Etching Primer and top coated with Chase Champion Gloss White Epoxy aerosol. The former was purchased at Pep Boys. I used it when I had problems getting paint to adhere well to metal. The latter came from McMaster-Carr and is real epoxy paint. It takes longer than some spray paints to dry, but it results in a very nice looking durable surface.
|
|
|
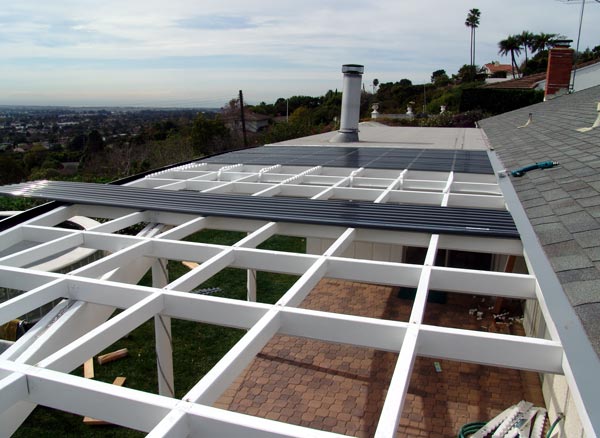
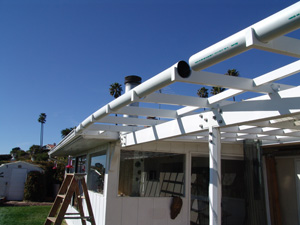
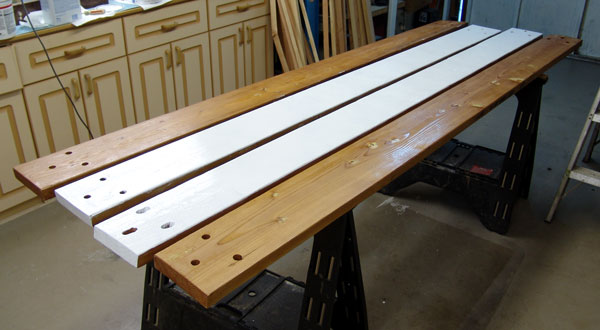
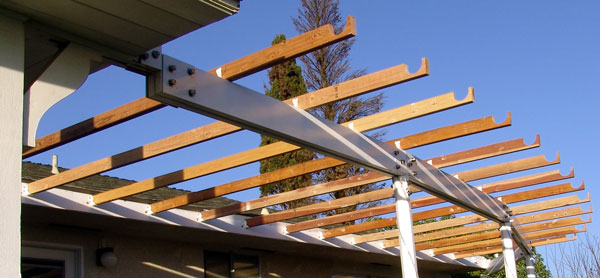
The beams are pairs of 2x8’s, the rafters are 2x4’s, the blocking between the rafters are 2x3’s. A gap between the pairs of beams hides the 12 volt DC rope light wiring. The blocking is on fairly close 18-inch centers to provide better support for the polycarbonate roofing. I started with douglas fir for the rafters, but had to switch to redwood due to the poor quality of wood that was being stocked at the local big box store. The 2x3 blocking was of some fairly hard wood and had to be pre-drilled to keep from splitting when nailed. Using 2x3’s instead of 2x4’s gave a bit of architectural touch. All of the wood was sealed with CPES before priming and painting. All nails are stainless. The rafter hangers and hurricane clips are all attached with stainless steel screws.
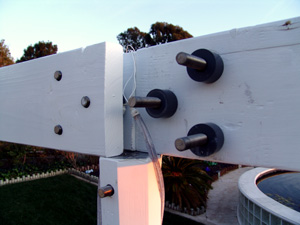
The beams attach to the hexagonal posts with T connectors I cut from stainless steel plate. 5/8-16 stainless threaded rod, lockwashers, and nuts tied all together. The threaded rod, lockwashers and nuts are the only hardware items not painted - they look cooler that way. One-inch thick PVC donuts are used as spacers between the pairs of 2x8’s.
|
|
|
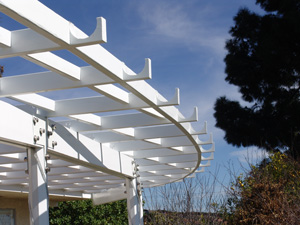
Perhaps the single most difficult part of this project was figuring out how to do the guttering. The patio cover edge is curved as one-quarter of an ellipse. The only commercial curved gutter I found was something like $50 per foot. I do have my limits. I tried heat bending PVC gutter but it could not be curved sharply enough. I ended up using 4-inch poly drain pipe, slit lengthwise. It makes for a very unusual look. Maybe modern? Maybe crappy? You decide. The ends of the rafters are notched with a hole saw to accept the gutter. Due to the elliptical curve, every rafter is a different length and every gutter notch and every rafter end is cut at a different angle.
|
|
|