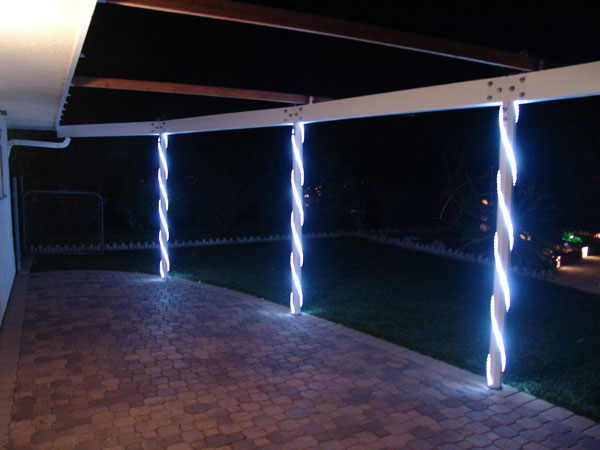
The “standard” support such structures is a 4x4 wood post which actually measures about 3.5” x 3.5”. Sometimes one sees some straight decorative flutes routed the length of the posts. To comply with the local building code to maintain at least the strength of a 3.5” square member I made my posts to have one inch more cross-sectional area, or 13.25 square-inches. To yield an octagonal post with eight equal width sides I had to start with wood that actually measured 4.0” x 4.0”, something I could not readily buy. As a result I had to start with commonly available 6x6 (actually 5.5” x 5.5”) by 8-foot beams, saw them down to 4.0” x 4.0” and then cut the four corners off to get the octagonal shape. And all I had was a handheld-type circular saw to do this. A pain, but well worth it. Much bigger pain to follow...
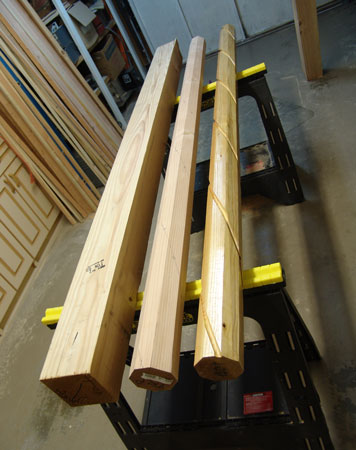
To make the patio cover more interesting I routed half-inch diameter grooves in a double helix spiral the entire length of each post. These grooves are a quarter-inch deep so that the half-inch diameter rope light sits in them nicely. This was the bigger pain. To do this I used a hand-held router. I first drew the spiral on the post, then carefully clamped on a straight guide, then made the required short cut with the router. The guide was moved and the next cut was made. This had to be repeated over 40 times for each post. Where one cut met the next was smoothed using sandpaper wrapped around a half-inch diameter rod. It was a lot of work but did turn out beautifully.

Next the exact length of each post was determined in order to meet building code headroom requirements and to allow the patio cover to match the slope of the existing sunroom it will attach to. The posts were cut to length, a 3/4” diameter hole was drilled up the bottom end, a stainless steel pressure plate was attached to the top end, and holes were drilled to attach the stainless steel T-shaped plates that would attach the roof beams to the posts.
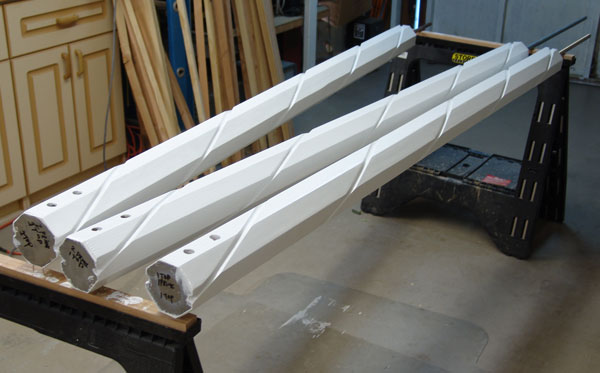
The next step before post installation is painting. First are two coats of clear epoxy sealer, Smith Co. Clear Penetrating Epoxy Sealer (CPES). This stuff soaks into wood like water into a sponge and really seals it. Then a high quality primer, Glidden PC4000 Prime Coat Exterior Oil Based Multi-Purpose Primer/Sealer. Finally a high quality top coat, Glidden DX6001, Endurance Premium Exterior Latex Semi-Gloss. Both Gliddens had to be ordered from a real paint store. These are the top of the line coatings and aren’t carried by the consumer big box stores. All the wood in this project received the same sealers and coatings.
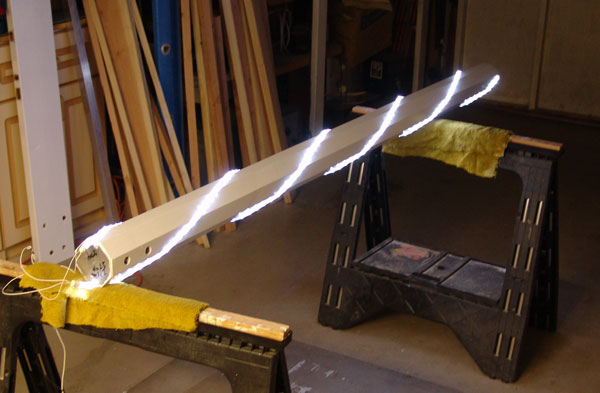
Finally, the rope light is wound into the routed grooves and fastened with stainless steel brads.
The posts are mounted in a slightly unusual way. Encased in the post footing is a 5/8”-16 rod coupling. An 18-inch length of stainless steel threaded rod is epoxied into hole drilled coaxially into the bottom of the post using Simpson SET epoxy-based anchoring adhesive. A few inches of the threaded rod stick out the bottom of the post. A hexagonal pad of 1/4-inch thick hard Teflon with a 5/8” hole in the center is laid on the footing and the post is ‘screwed’ into the rod coupling. This is an adaptation of a Simpson post mounting system. The result is a clean-looking installation with no ugly bracket at the bottom of the post to rust out. The Teflon pad helps keep the bottom of the post dry and it won’t rust out or decay. The rod coupling is partly filled with non-running silicone grease to keep any moisture out.